Subscribe to our newsletter here
Would you like to always be the first to know about our latest products and offers? Then we have good news for you! With our newsletter campaign we bring all important information directly to your inbox.


5,00 € - 9,00 €
VAT included excl.Shipping rate
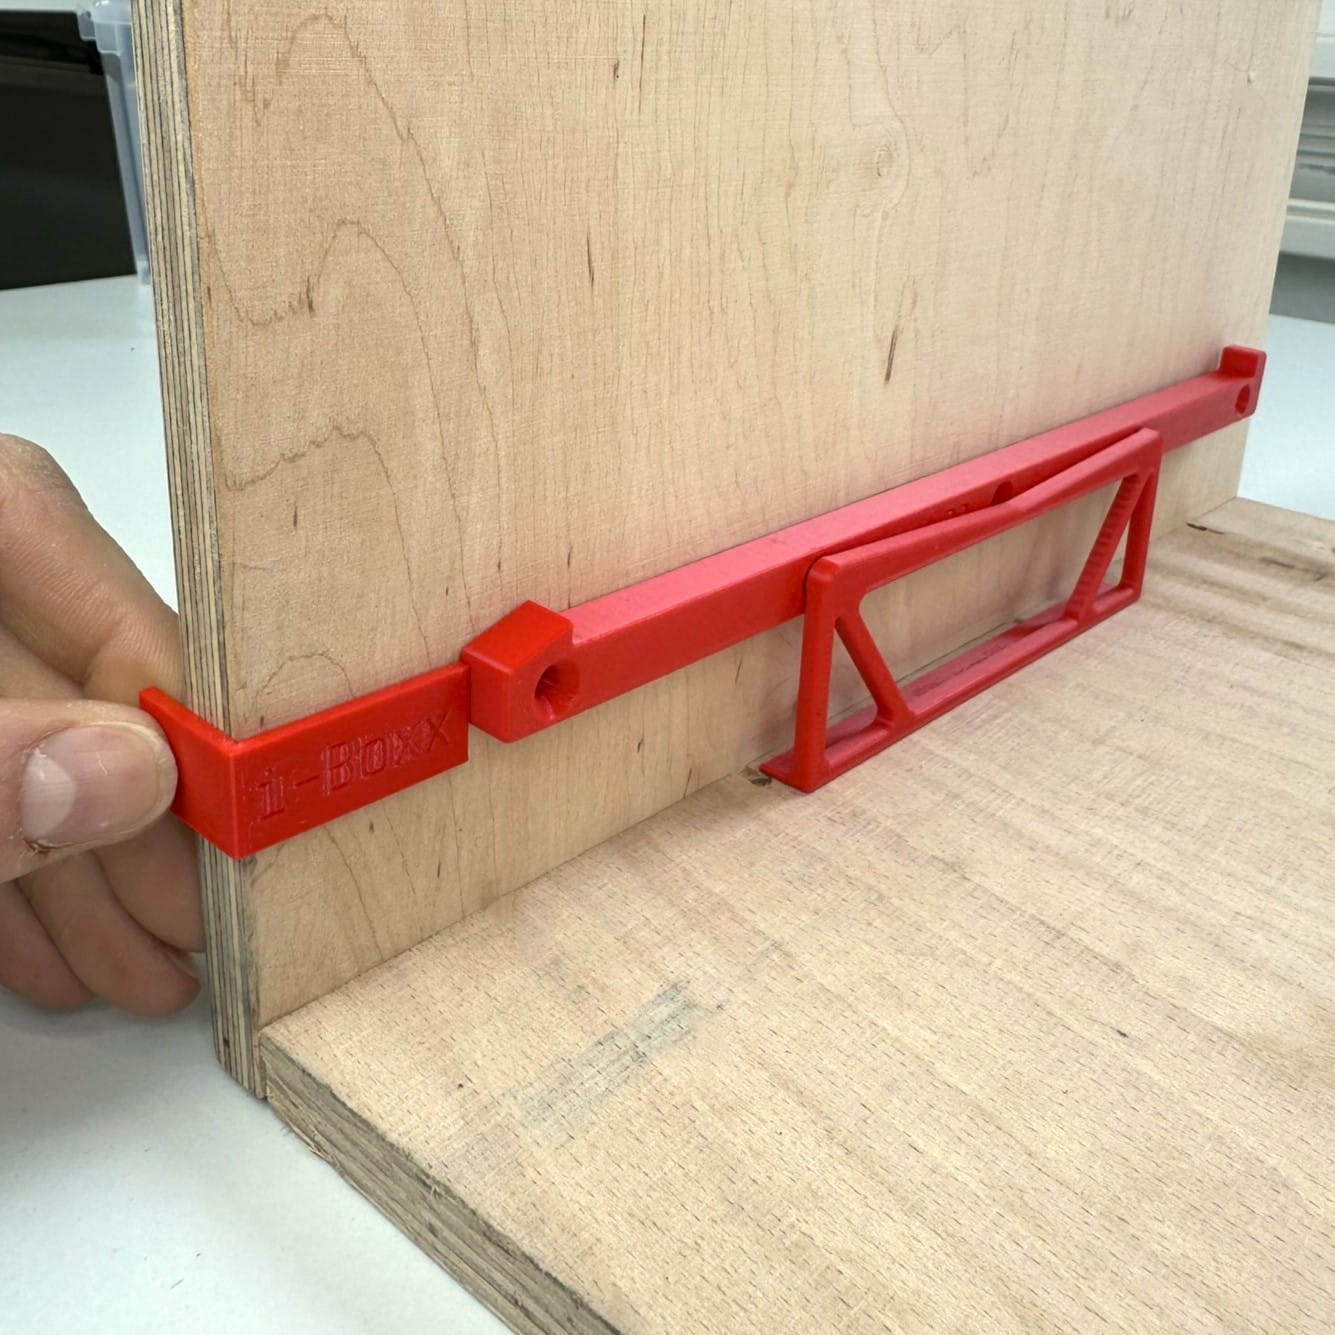
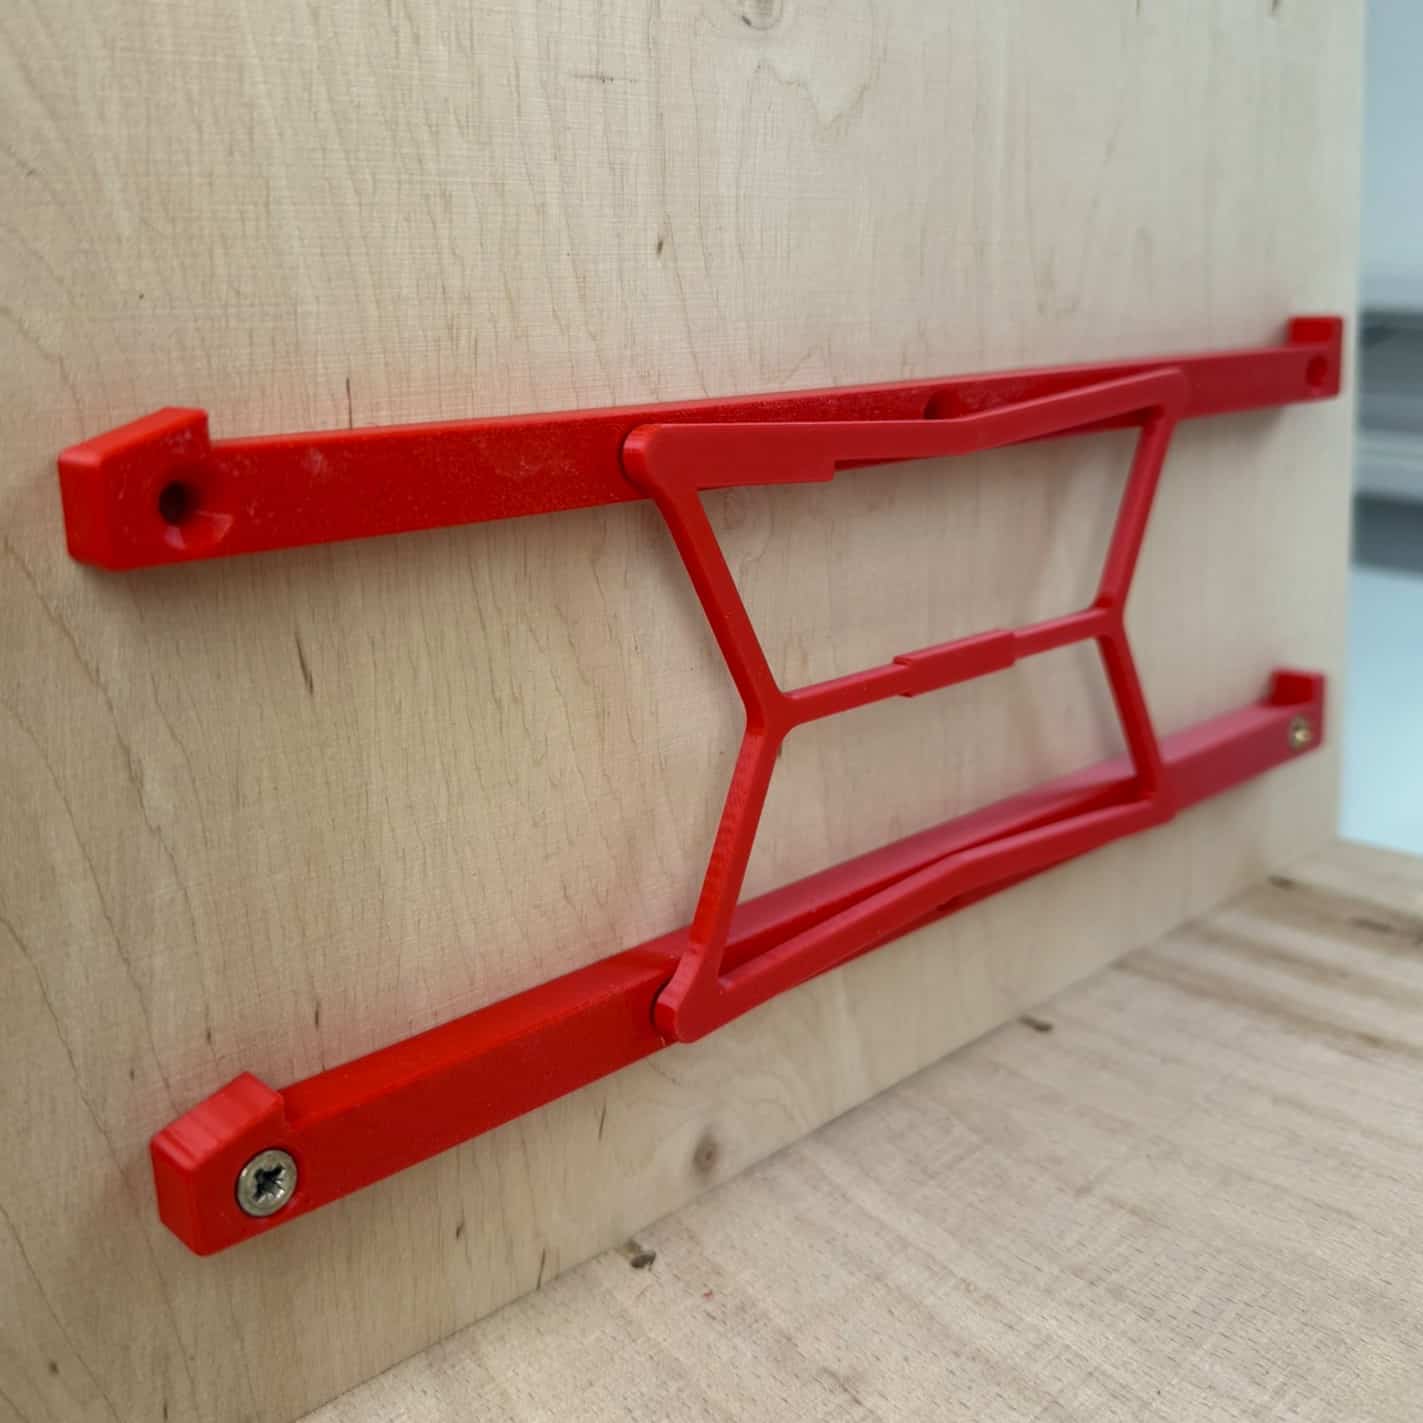
Save time and stress during assembly: Our assembly system for you i-Boxx rails automatically ensures the correct spacing of the mounting holes.
Available for:
Delivery time: 7-8 days
This is especially for ours i boxx rails The specially designed assembly system makes assembly easier for you and saves you a lot of your valuable time. In just a few simple steps you have all your rails installed and can sort your shelf with your i-Boxxes. The different i-Boxx variants 53 and 72 were also considered. That's why you have various options for configuring your self-built i boxx rack.
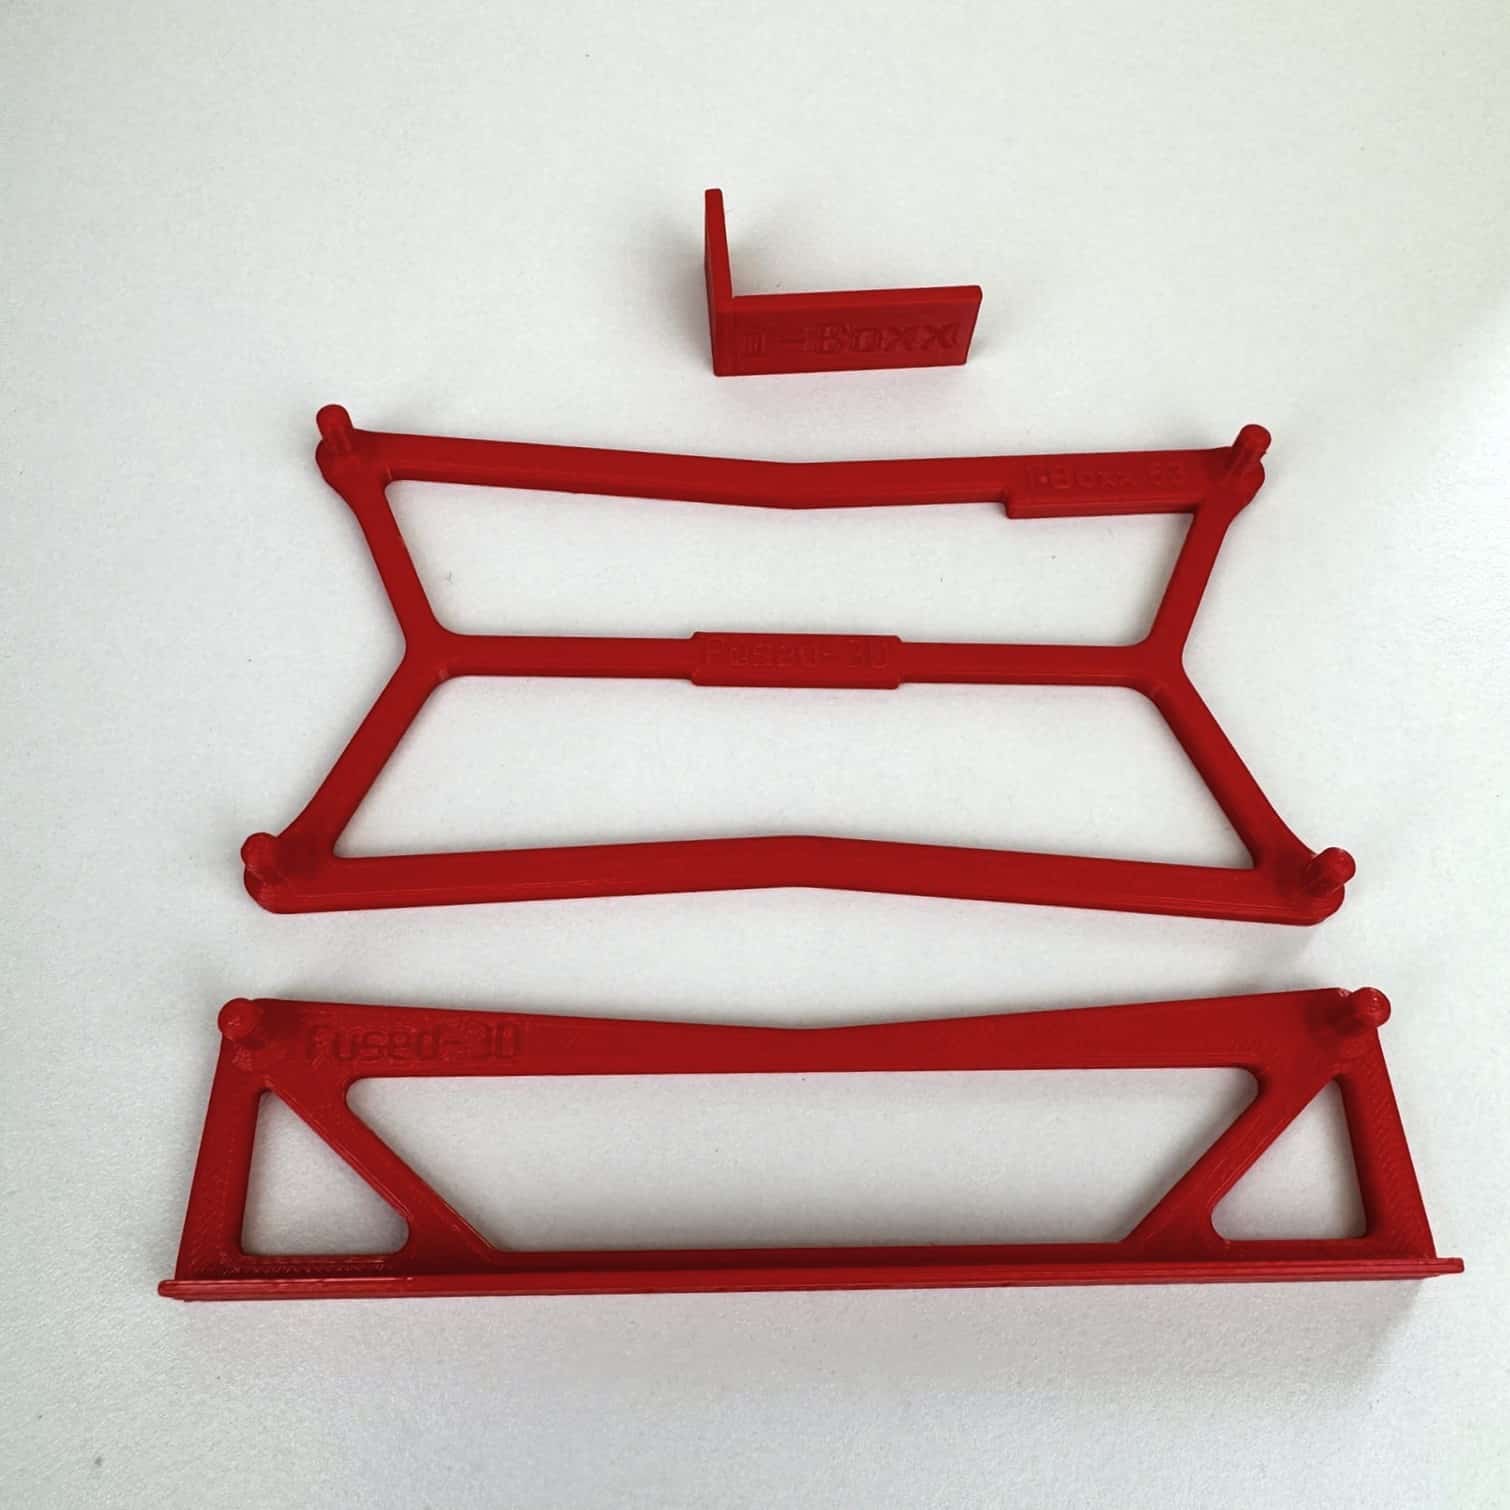
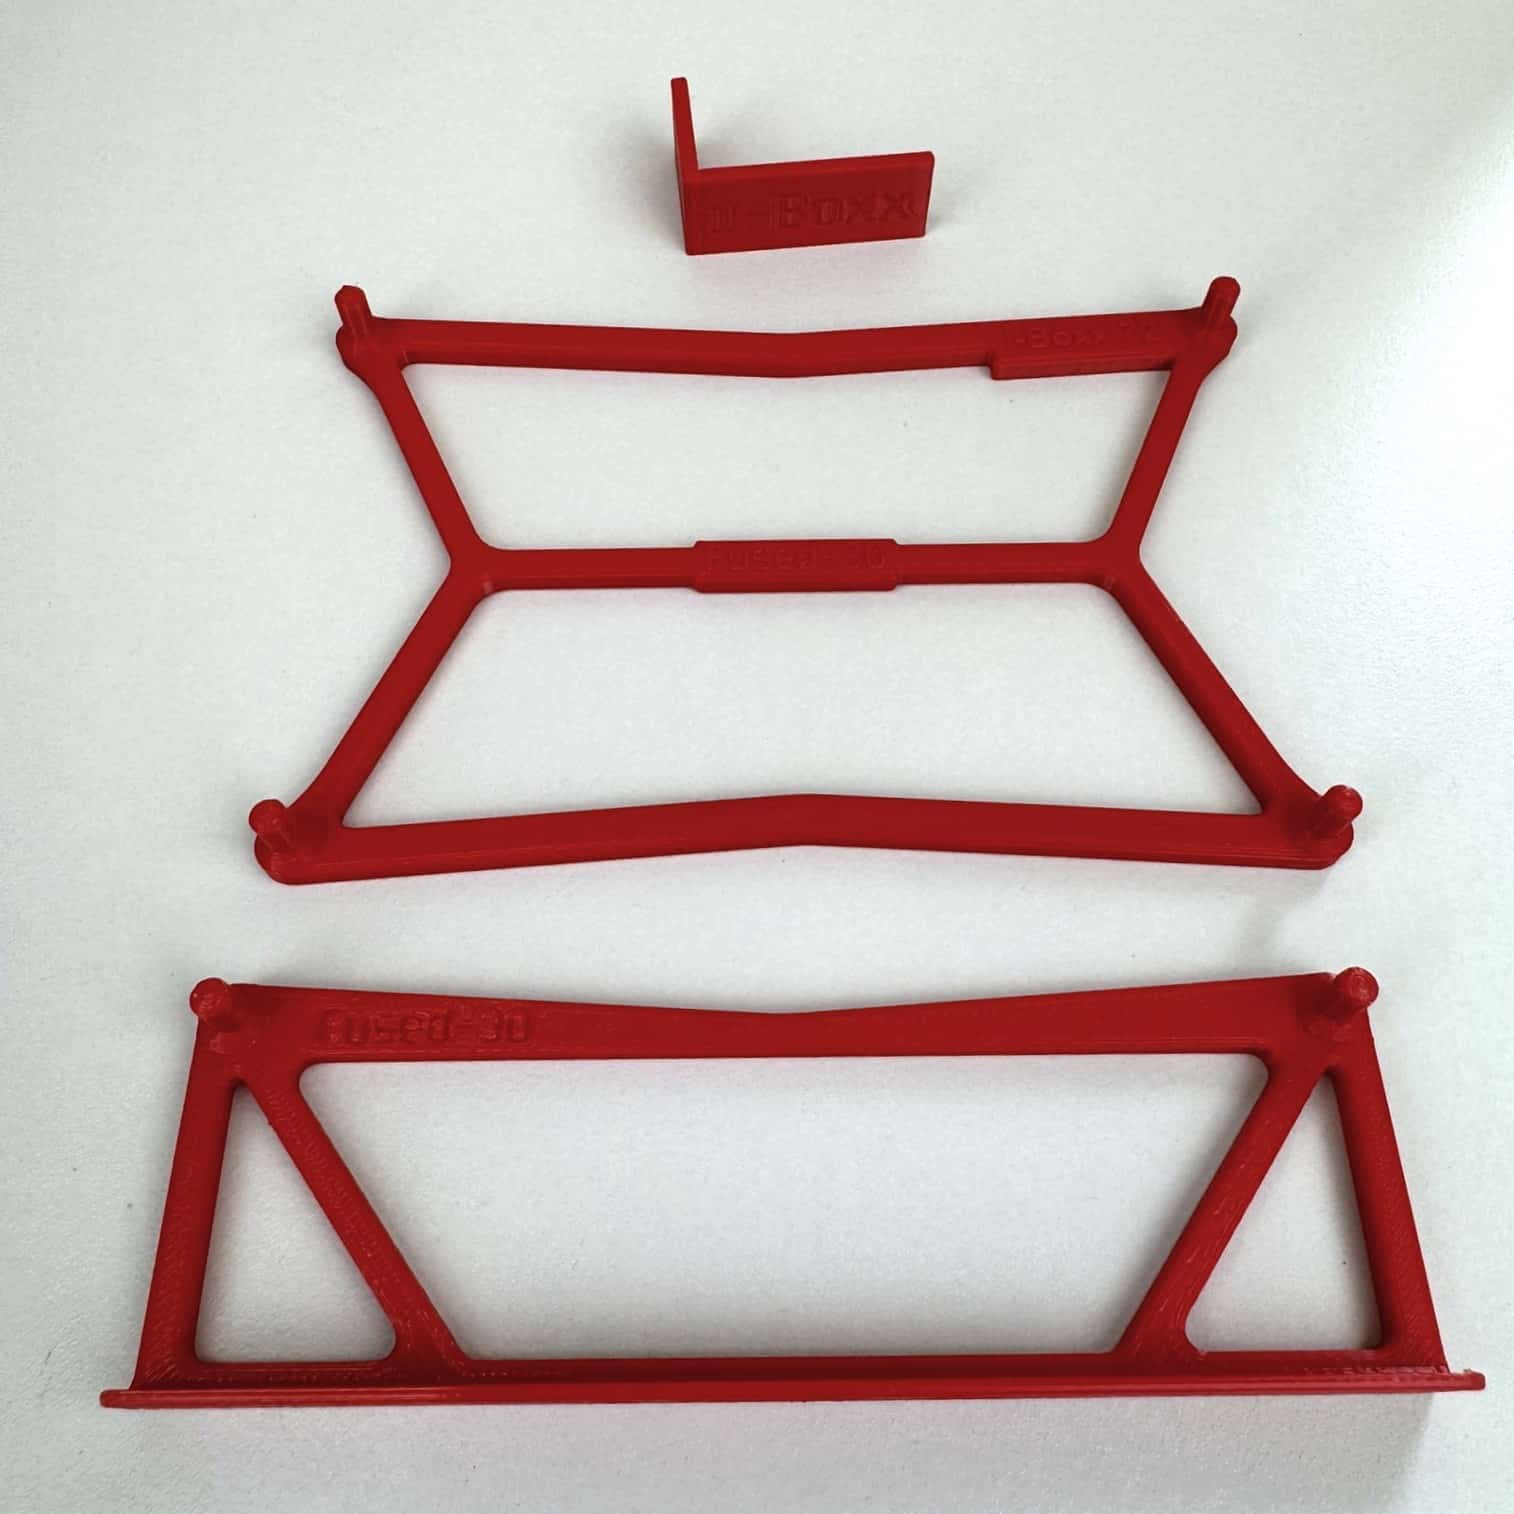
The scope of delivery includes the following for you
-Mounting bracket suitable for the corresponding i-Boxx
-1x stop bracket with every order for the correct distance to the shelf front
-Floor clamp suitable for the corresponding i-Boxx
Here you can find out how to use the mounting system for the i-Boxx rails apply.


| Size | i-Boxx 53, i-Boxx 72 |
|---|---|
| Floor clip | i-Boxx 53, i-Boxx 72, No |
Only registered users who have bought this product are allowed to submit a review.


Reviews
There are no reviews.